|
Embedded System - Intel Quark |
||
|
LED Blinking Example
Once you connect the board to your PC and complete ROM update, I think this would be the first thing everybody would try. Creating the famous LED blinking program.. it is like printf("HelloWorld") in C. I would not do even single line of coding here.. This page would just shown you how to create a sample program from a predefined template, build it and check if the board is really working or not. Through this tutorial, you would get a general look and feel on how the software development kit (SDK) works.
First, launch the System Studio program.
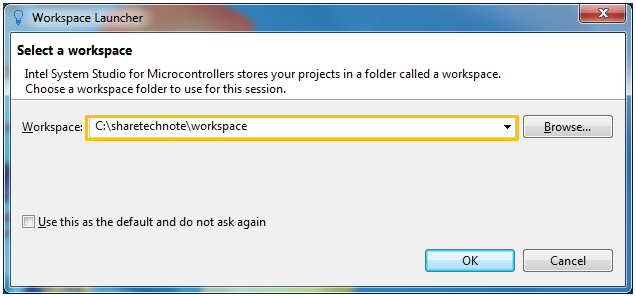
Then you will get a popup as follows. Specify the path for workspace (workspace is the folder where the program will be stored) and hit [OK] button.
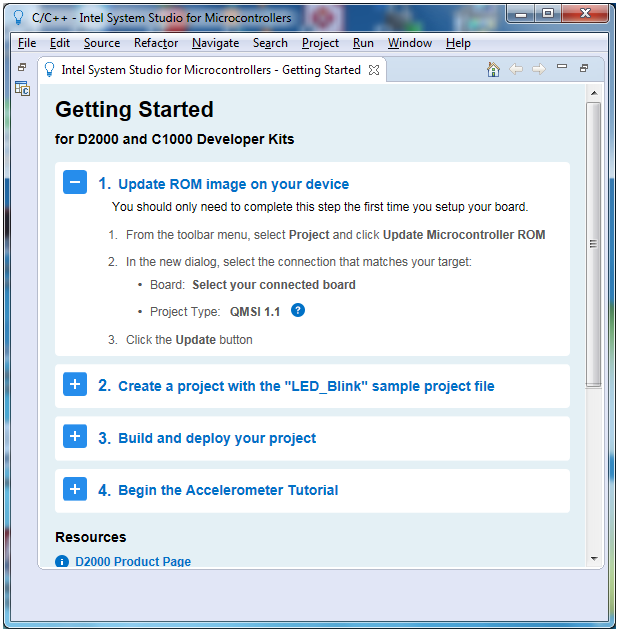
Then you will get the window as shown below (This is the same window / program that you used for ROM update)
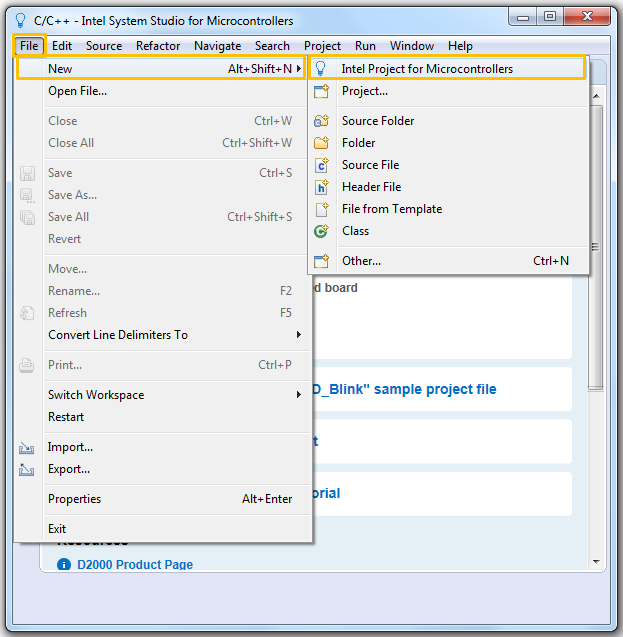
Then open [File] menu and select [New] and select [Intel Project for Microcontroller] as shown below.
Then select the type of the board that you will program as shown below, and hit [Next] button
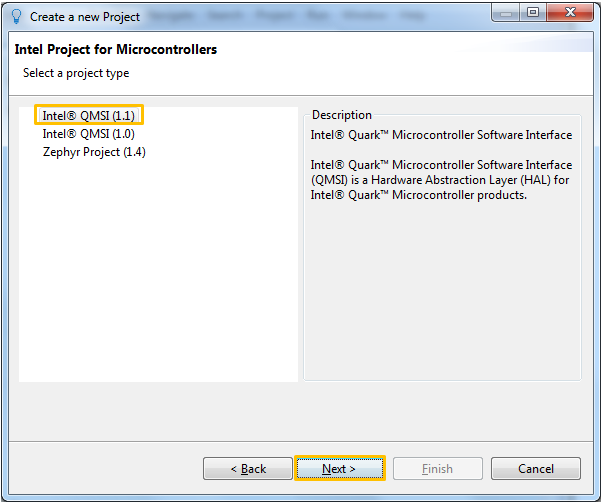
Select the project type as shown below. (How do I know which project type to select ? Select the project type that you selected in ROM updating process. If you want to create a project type which is different from what you selected during ROM updating process, you need to redo ROM update for the new project type). And then hit [Next] button.
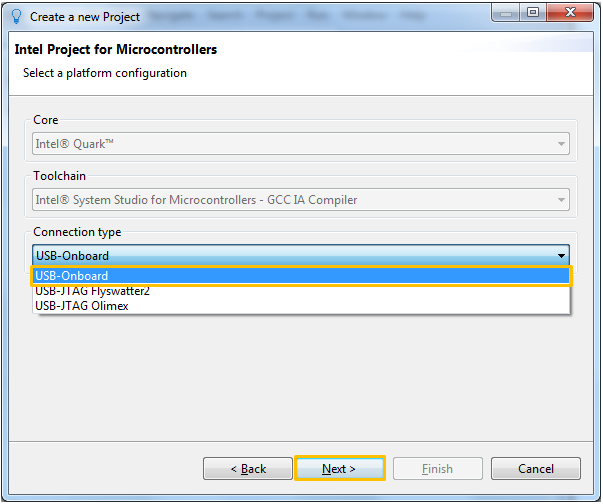
Then you will have a popup as shown below. Select the connection type. I selected USB-Onboard because my board is directly connected to the board with USB cable and hit [Next] button.
Type in a project name you want in Name field and select a template project in Examples box. and hit [Finish] button.
Now you will get a programe created from the sample program without typing in any key on your own.
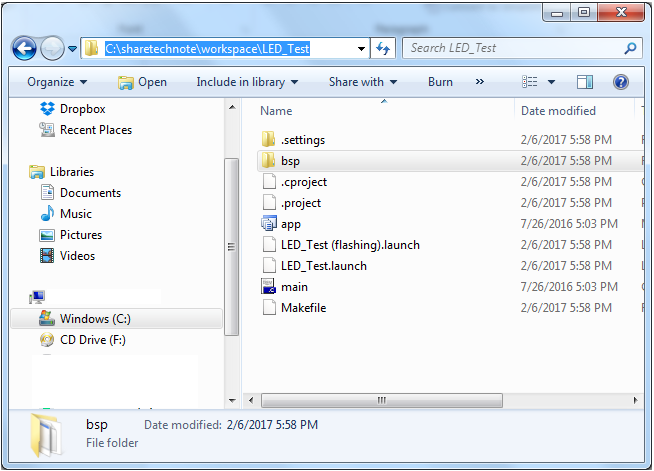
Just for your reference, you can go to the workspace folder and you will see the project folder is created and all the source codes are stored there.
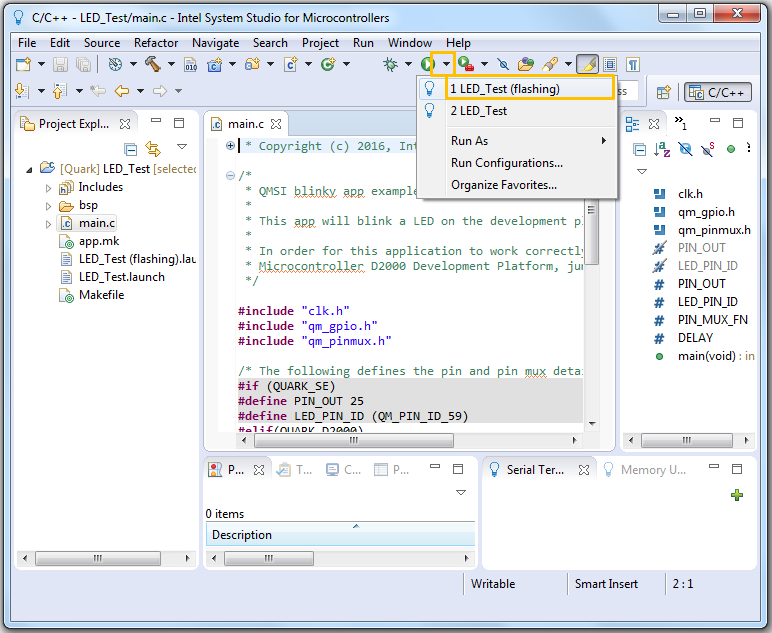
Now the only remaining step is just to build and run the program. However, make it sure that the board is connected to your PC before you do this. Pull down the dropdown box of [Run] button and select the project name that you want.
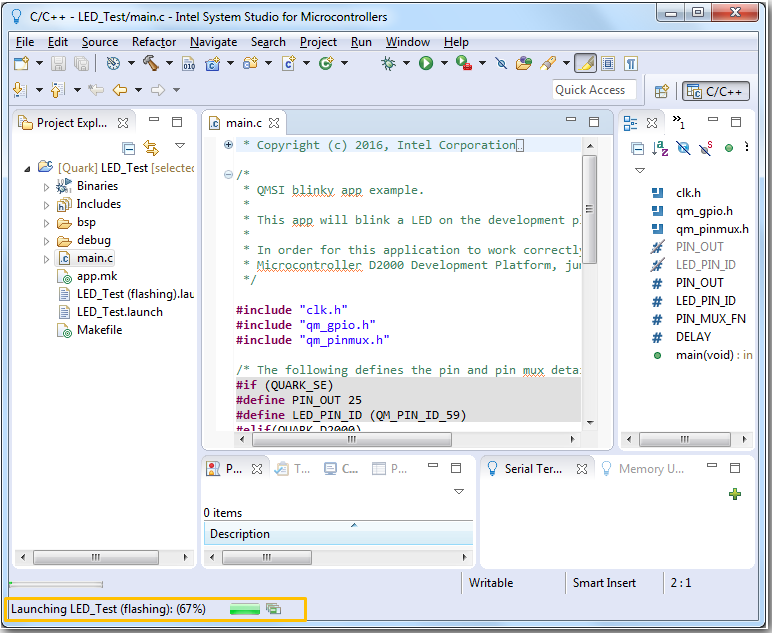
Then project would progress as shown below.
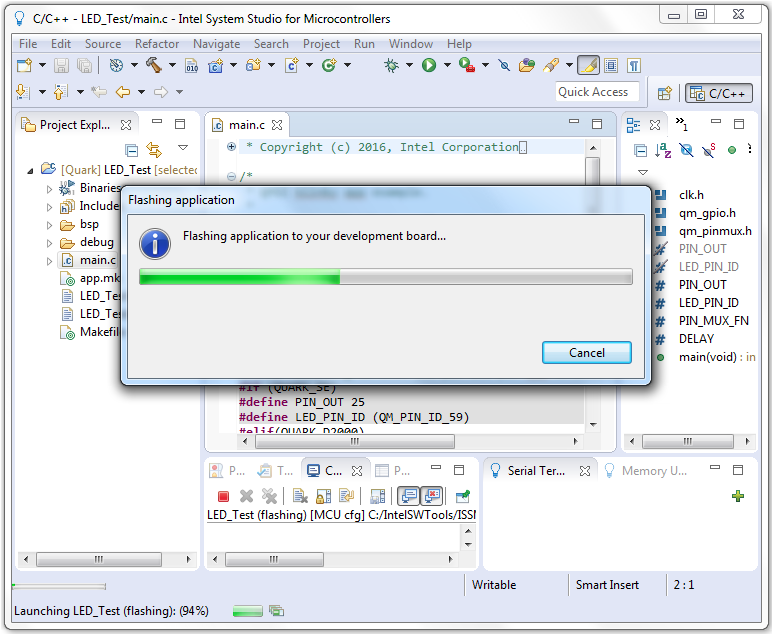
Once compile / build is done, System Studio start downloading the binary code of the program to the board as shown below.
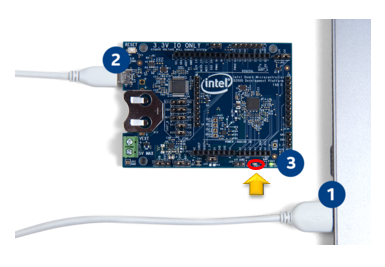
Then you will see the LED on the board is flashing as shown below.
Reference :
[1] Using UARTs on Intel® Quark™ Microcontroller D2000 [2] Intel® Developer Zone for IoT [3] The Quark D2000 Development Board: Moving Beyond “Hello World”
|
||